Outlook Calendar: Difference between revisions
No edit summary |
|||
| Line 27: | Line 27: | ||
* Choose a name |
* Choose a name |
||
* Select an Outlook folder. |
* Select an Outlook folder. |
||
** It's recommended to |
** It's recommended to have one folder for each calendar. |
||
** |
** Select and existing or create a new folder by pressing the '...' button. Select the calendar and press Ok. |
||
* Check synchronize items immediately after change |
* Check synchronize items immediately after change |
||
* Server settings: |
* Server settings: |
||
| Line 45: | Line 45: | ||
[[File:Screenshot from 2020-11-29 05-29-14.png|CalDav Synchronizer Profile]] |
[[File:Screenshot from 2020-11-29 05-29-14.png|CalDav Synchronizer Profile]] |
||
After the configuration of the profile is finished you can start the synchronization by pressing "Synchronize now" in the CalDav Synchronizer ribbon and your Outlook calendar will be in sync with your NextCloud calendar. |
|||
Repeat this for each calendar. |
|||
For address books, the profile setup is similar, just choose an Outlook contacts folder for synchronization. |
|||
Revision as of 04:39, 29 November 2020
Outlook Addon CalDav Synchronizer
- Download the zip file from [[1]]
- Extract it into any directory
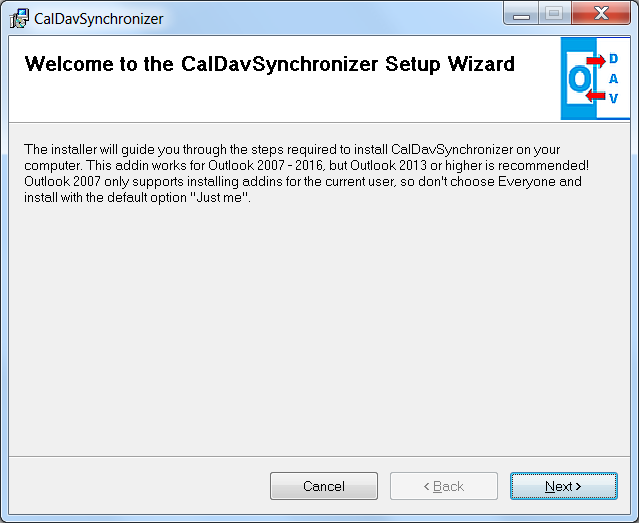
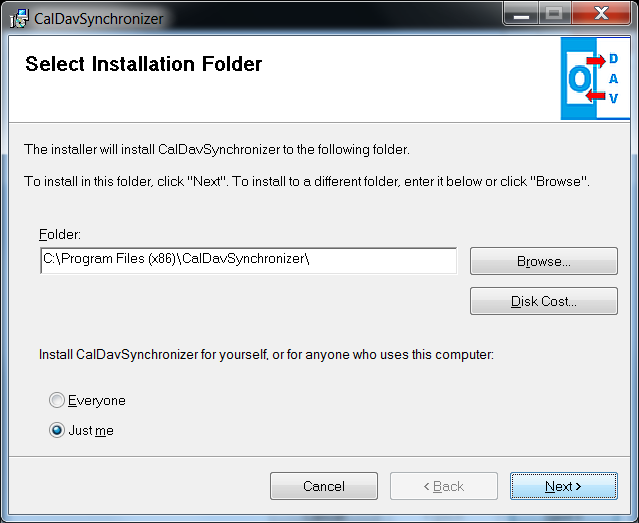
- Start the setup.exe. You can change the default install path, but you need to use a directory on the C:\ drive.
- Follow the instructions and restart Outlook after the installation is finished.
After restart you will see a ribbon CalDav Synchronizer in Outlook

Add profiles for Mecila calendars and address books
Press the "Synchronization Profiles" to add profiles for your Mecila calendars and address books. A window opens:
Press the icon with the green plus.
Choose the profile type "Nextcloud". The window closes and you have a new profile.
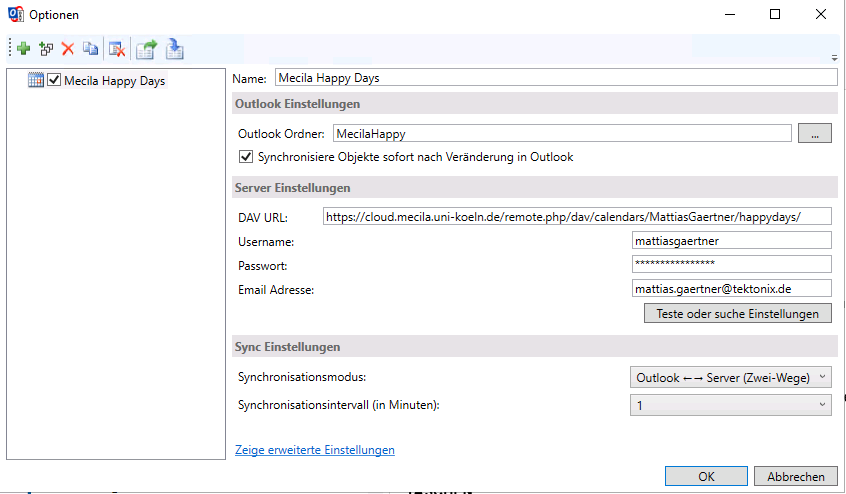
In the profile setup you can configure the details of the sync profile:
- Choose a name
- Select an Outlook folder.
- It's recommended to have one folder for each calendar.
- Select and existing or create a new folder by pressing the '...' button. Select the calendar and press Ok.
- Check synchronize items immediately after change
- Server settings:
- DAV URL: https://cloud.mecila.uni-koeln.de/remote.php/dav/
- Username: your Mecila Nextcloud user name
- Password: your Mecila Nextcloud password
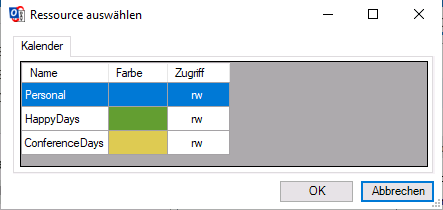
Press the Test button. After some seconds a window should appear:
Select the calendar and press Ok.
- Synchronization mode: Outlook <-> Server Two ways
- Synchronization interval in minutes: Choose an update interval
After the configuration of the profile is finished you can start the synchronization by pressing "Synchronize now" in the CalDav Synchronizer ribbon and your Outlook calendar will be in sync with your NextCloud calendar.
Repeat this for each calendar.
For address books, the profile setup is similar, just choose an Outlook contacts folder for synchronization.


