Outlook Calendar: Difference between revisions
Jump to navigation
Jump to search
(Created page with "= Outlook Addon CalDav Synchronizer = * Download the zip file from https://sourceforge.net/projects/outlookcaldavsynchronizer/ * Extract it into any directory * Start the...") |
|||
| Line 11: | Line 11: | ||
After restart you will see a ribbon '''CalDav Synchronizer''' in Outlook |
After restart you will see a ribbon '''CalDav Synchronizer''' in Outlook |
||
[[File:CalDavSynchronizerOutlookRibbon.png|CalDav Synchronizer Outlook ribbon]] |
|||
| ⚫ | |||
Press the "Synchronization Profiles" to add profiles for your Mecila calendars and address books. A window opens: |
|||
[[File:CalDavSynchronizerProfiles.png|CalDav Synchronizer Profiles]] |
|||
Press the icon with the green plus. |
|||
| ⚫ | |||
Choose the profile type "Nextcloud". The window closes and you have a new profile. |
|||
In the profile setup you can configure the details of the sync profile: |
|||
* Choose a name |
|||
* Select an Outlook folder. |
|||
** It's recommended to create one folder for each calendar. |
|||
** Create a new folder by pressing the '...' button, select the "Calendar" folder and press the New button. Select the new calendar and press Ok. |
|||
* Check synchronize items immediately after change |
|||
* Server settings: |
|||
** DAV URL: https://cloud.mecila.uni-koeln.de/remote.php/dav/ |
|||
** Username: your Mecila Nextcloud user name |
|||
** Password: your Mecila Nextcloud password |
|||
Press the Test button. After some seconds a window should appear: |
|||
[[File:CalDavSynchronizerResourceChoose.png|CalDavSynchronizer Choose Resource]] |
|||
Select the calendar and press Ok. |
|||
* Synchronization mode: Outlook <-> Server Two ways |
|||
* Synchronization interval in minutes: Choose an update interval |
|||
[[File:Screenshot from 2020-11-29 05-29-14.png|CalDav Synchronizer Profile]] |
|||
Revision as of 04:32, 29 November 2020
Outlook Addon CalDav Synchronizer
- Download the zip file from [[1]]
- Extract it into any directory
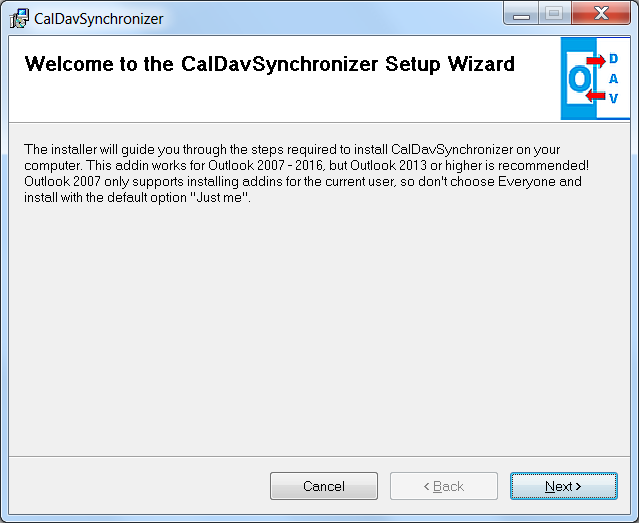
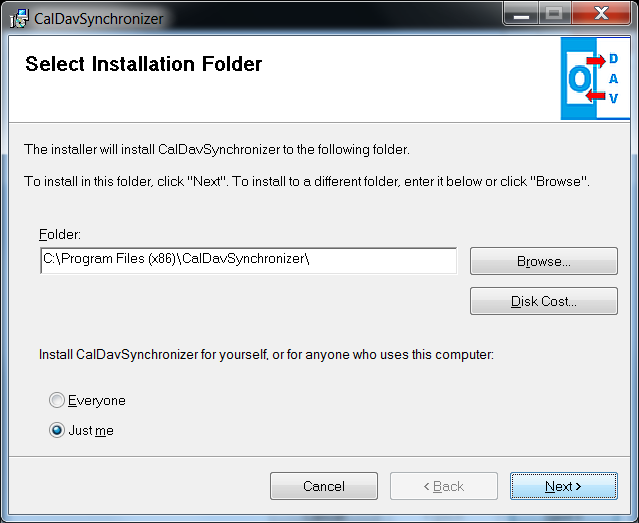
- Start the setup.exe. You can change the default install path, but you need to use a directory on the C:\ drive.
- Follow the instructions and restart Outlook after the installation is finished.
After restart you will see a ribbon CalDav Synchronizer in Outlook

Add profiles for Mecila calendars and address books
Press the "Synchronization Profiles" to add profiles for your Mecila calendars and address books. A window opens:
Press the icon with the green plus.
Choose the profile type "Nextcloud". The window closes and you have a new profile.
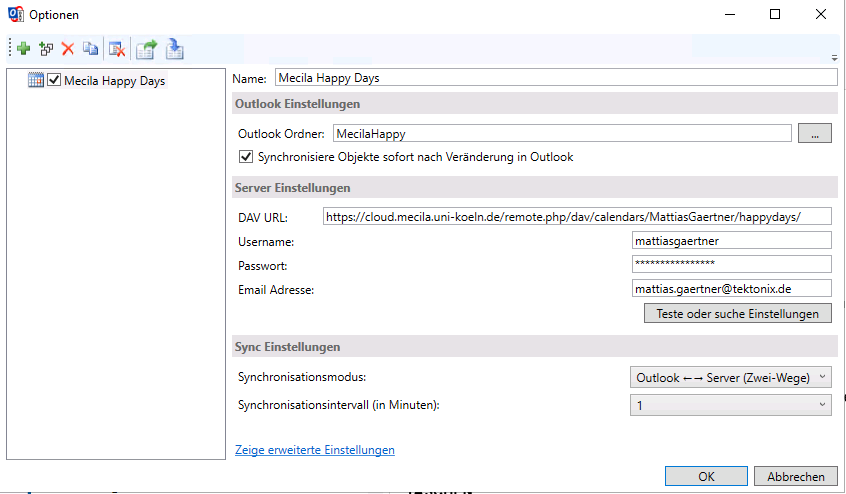
In the profile setup you can configure the details of the sync profile:
- Choose a name
- Select an Outlook folder.
- It's recommended to create one folder for each calendar.
- Create a new folder by pressing the '...' button, select the "Calendar" folder and press the New button. Select the new calendar and press Ok.
- Check synchronize items immediately after change
- Server settings:
- DAV URL: https://cloud.mecila.uni-koeln.de/remote.php/dav/
- Username: your Mecila Nextcloud user name
- Password: your Mecila Nextcloud password
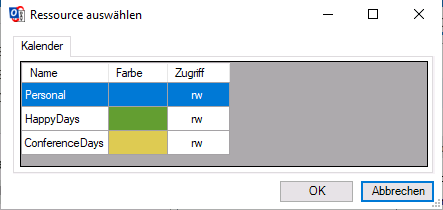
Press the Test button. After some seconds a window should appear:
Select the calendar and press Ok.
- Synchronization mode: Outlook <-> Server Two ways
- Synchronization interval in minutes: Choose an update interval


